Payoneer registration Indonesia is fast and easy for new freelancers and digital nomads. This guide will show you how to complete Payoneer registration in Indonesia using your mobile phone, including step-by-step instructions for account verification and local bank withdrawals.
Related: Payoneer Registration Philippines Mobile Guide (2025)
Payoneer Registration Indonesia: Step-by-Step Mobile Guide
- Global Reach: Receive payments from international clients and marketplaces (Upwork, Fiverr, Amazon) in multiple currencies.
- Local Bank Withdrawals: Easily withdraw funds to your Indonesian bank account (BCA, Mandiri, BRI, etc.).
- Competitive Fees: Lower fees and better exchange rates than most bank transfers.
- Mobile App: Manage your account and payments from anywhere.
What You Need for Payoneer Registration Indonesia
- Valid government-issued ID (KTP or passport)
- Proof of address (recent bill or bank statement, matching your registration info)
- Local bank account details (bank name, account number, SWIFT/BIC code)
- Active email address
- Stable internet connection
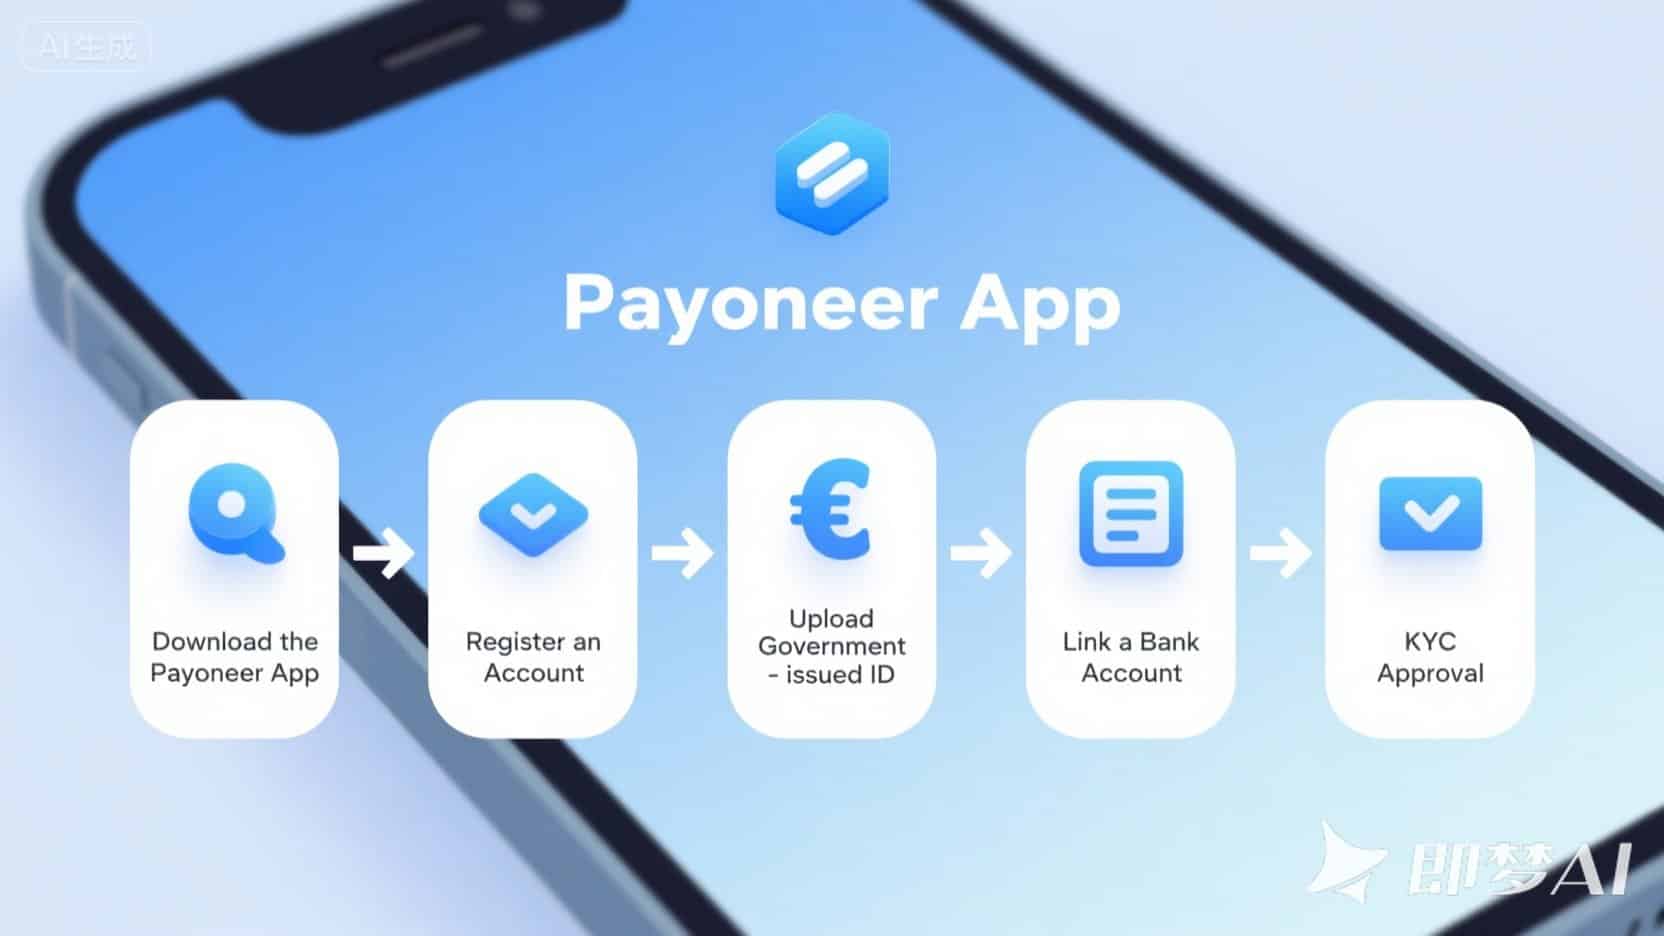
How to Complete Payoneer Registration Indonesia on Mobile
-
Download the Payoneer Mobile App:
- Android: Google Play Store
- iOS: Apple App Store
- Search for “Payoneer” (published by Payoneer Inc.)
-
Start the Registration Process:
- Open the app and tap ‘Sign Up’
- Choose account type (Freelancer/Individual)
- Enter your full name, email, date of birth (matches your ID)
- Create a password, input your mobile number (for verification)
-
Provide Contact Details:
- Select ‘Indonesia’ and input your home address (matches proof)
- Enter the verification code sent to your mobile
-
Security Details:
- Choose security question and answer
- Enter ID details (number, expiry date)
-
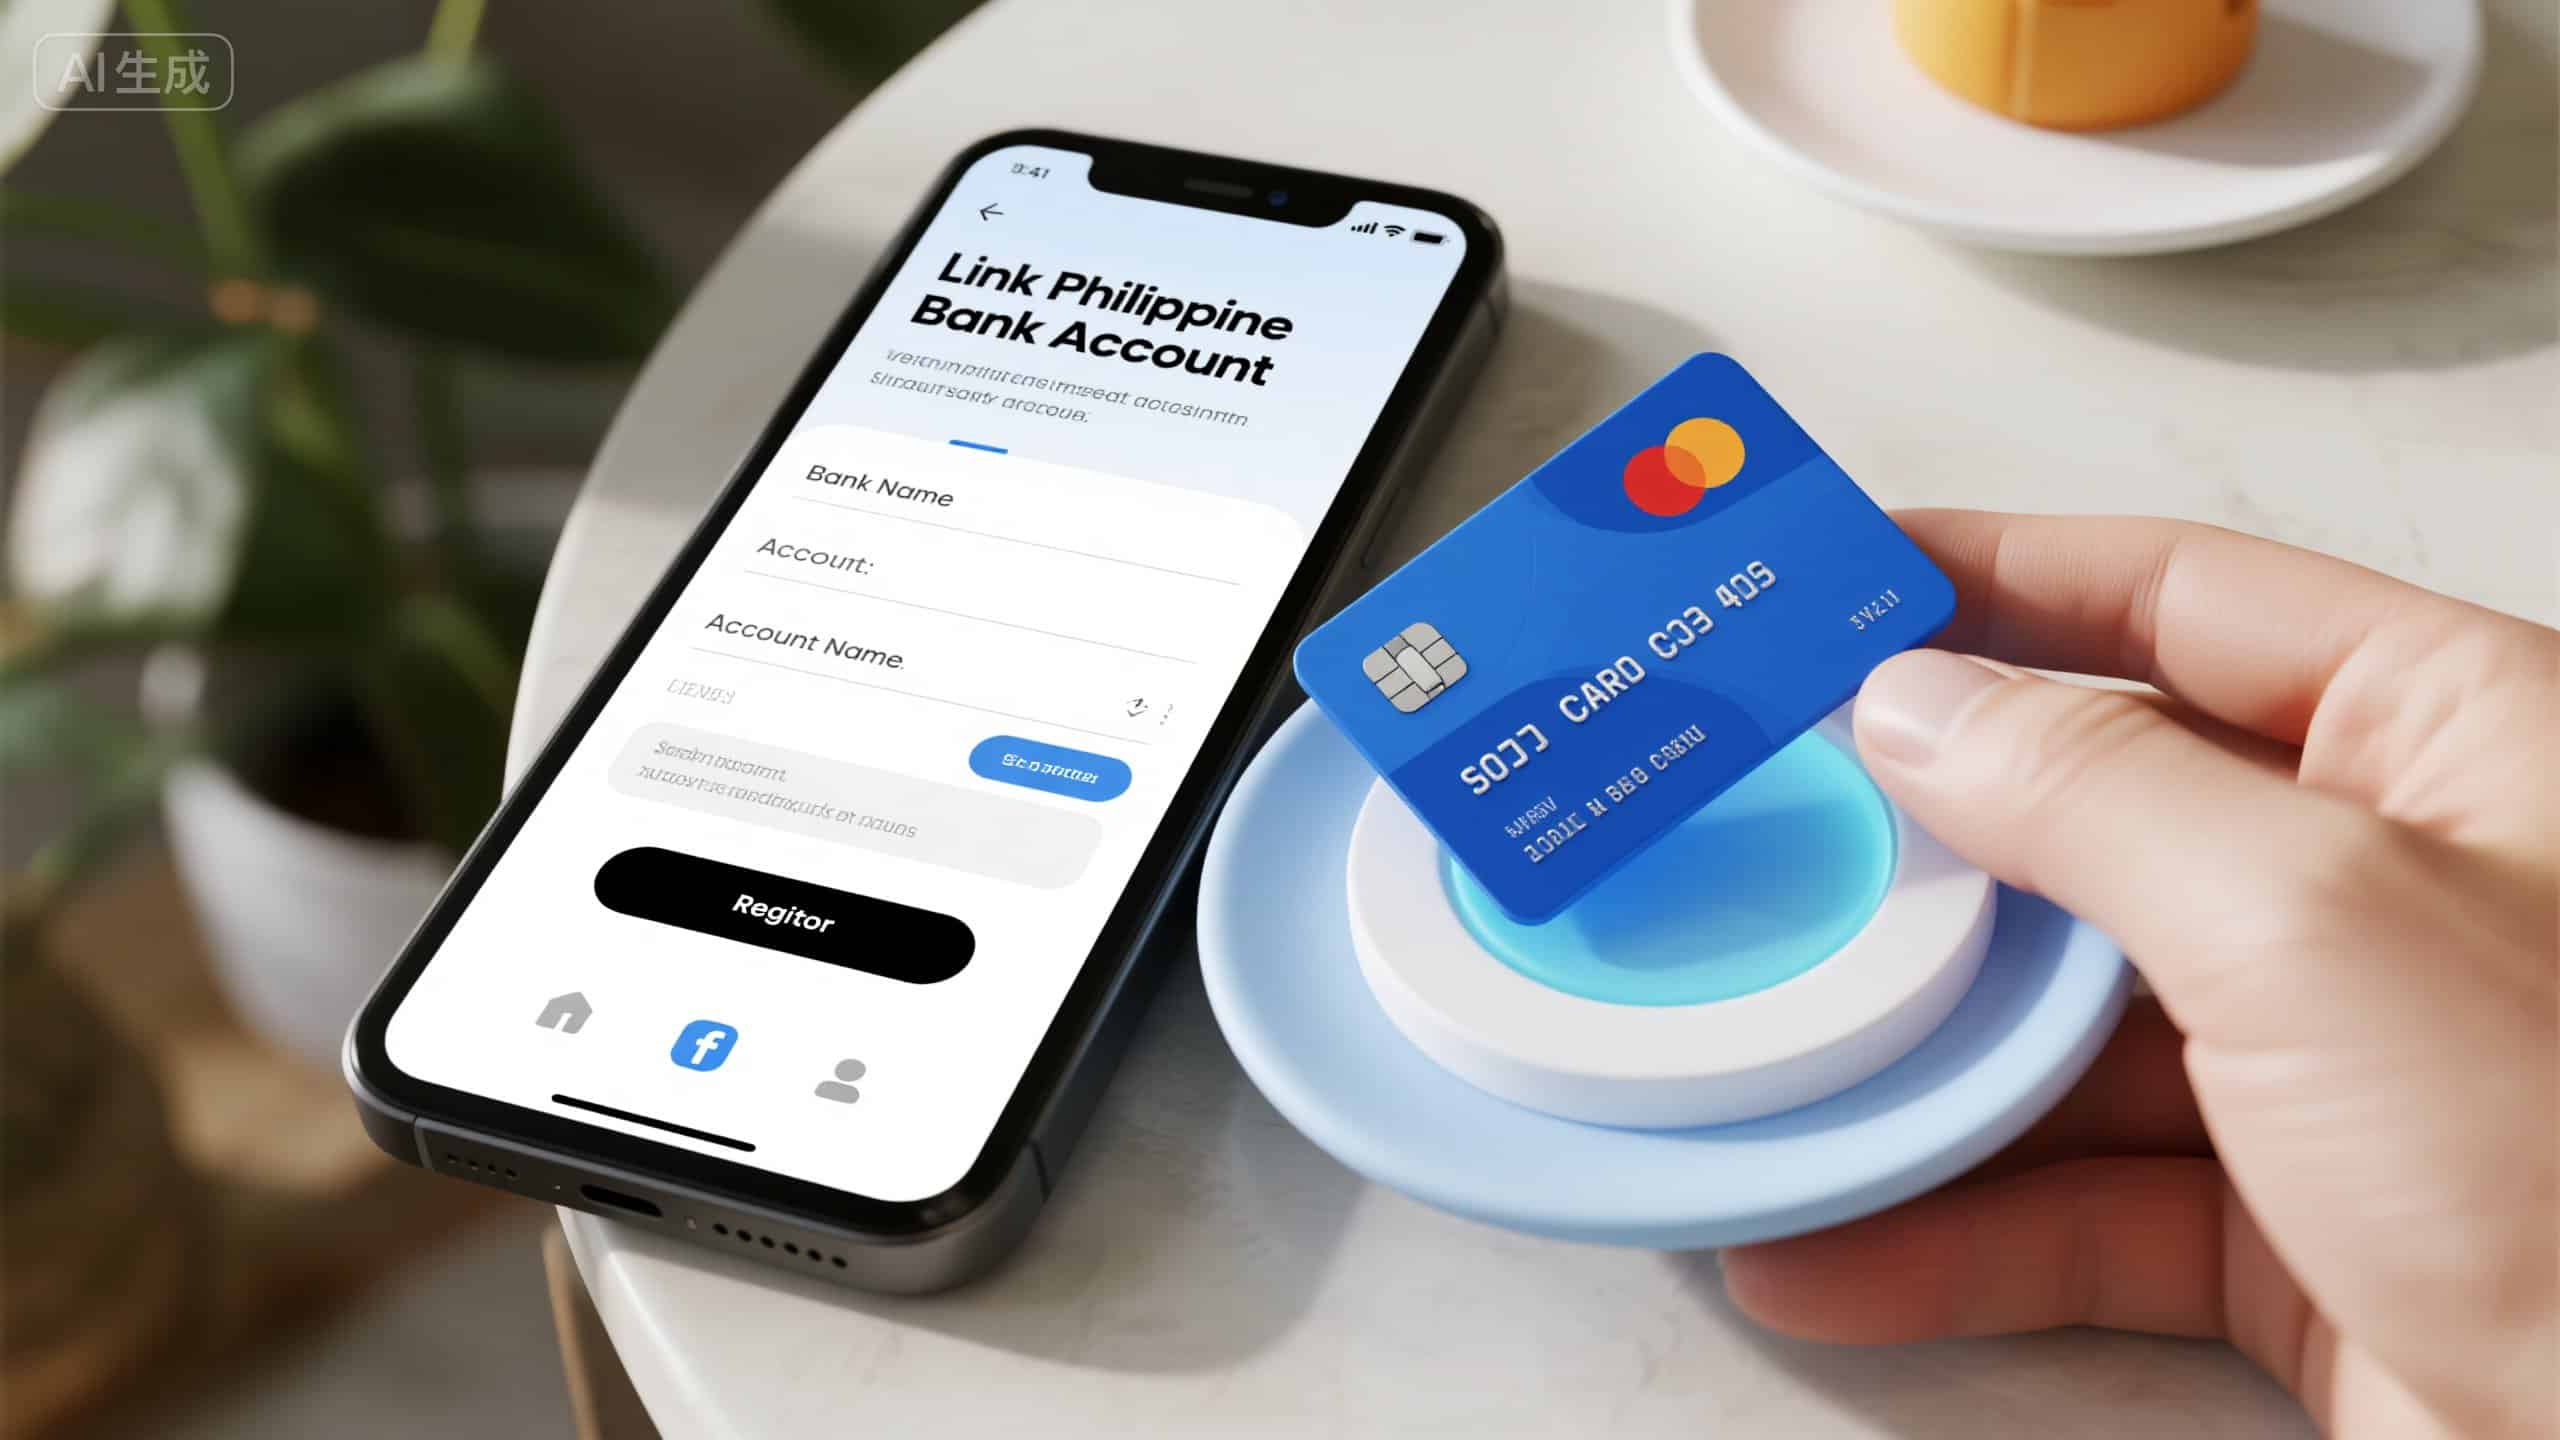
Link Your Indonesian Bank Account:
- Input bank name, account holder (must match your Payoneer name), account number, SWIFT/BIC
- Agree to all terms and fees
-
Submit Application:
- Double-check all info, then submit
What Happens After Payoneer Registration Indonesia (KYC & Verification)
- Email confirmation of application
- KYC request (upload ID, proof of address via app or email link)
- Tips: Photos must be clear, all corners visible, no glare
- Account approval within hours to a few business days
Common Payoneer Registration Indonesia Issues and Solutions
- Verification delays: Check email (including spam), sometimes need a selfie with your ID
- Document rejection: Re-upload valid, clear, matching documents
- Login problems: Use “Forgot Password”, check your network for SMS codes
- Bank account issues: Confirm details and SWIFT/BIC code
- Customer service: Use app’s “Help” or “Contact Us” for chat or phone
Conclusion
Payoneer registration Indonesia is straightforward if you follow these mobile steps. Prepare your documents, and you’ll soon receive international payments with ease!
Disclaimer: This guide is for informational purposes. Always check Payoneer’s official site for updates.