Payoneer KYC Philippines mobile verification is an essential step for freelancers, digital nomads, and remote workers in the Philippines to activate their accounts and access international payments. This updated July 2025 guide will walk you through the mobile verification process, required documents, and common troubleshooting tips for a smooth experience.
What is Payoneer KYC and Why is it Important?
KYC (Know Your Customer) is a mandatory identity verification process that helps prevent fraud and ensures account security. Completing KYC unlocks full Payoneer account features and transaction limits.
Documents Needed for Mobile KYC Verification
- Government-issued photo ID: Philippine Passport, Driver’s License, PhilSys National ID, SSS ID, or UMID ID. Make sure it is valid and clear.
- Proof of address (if requested): Recent utility bills or bank statements (issued within the last 3 months) with matching name and address.
Step-by-Step Payoneer KYC Mobile Verification (July 2025)
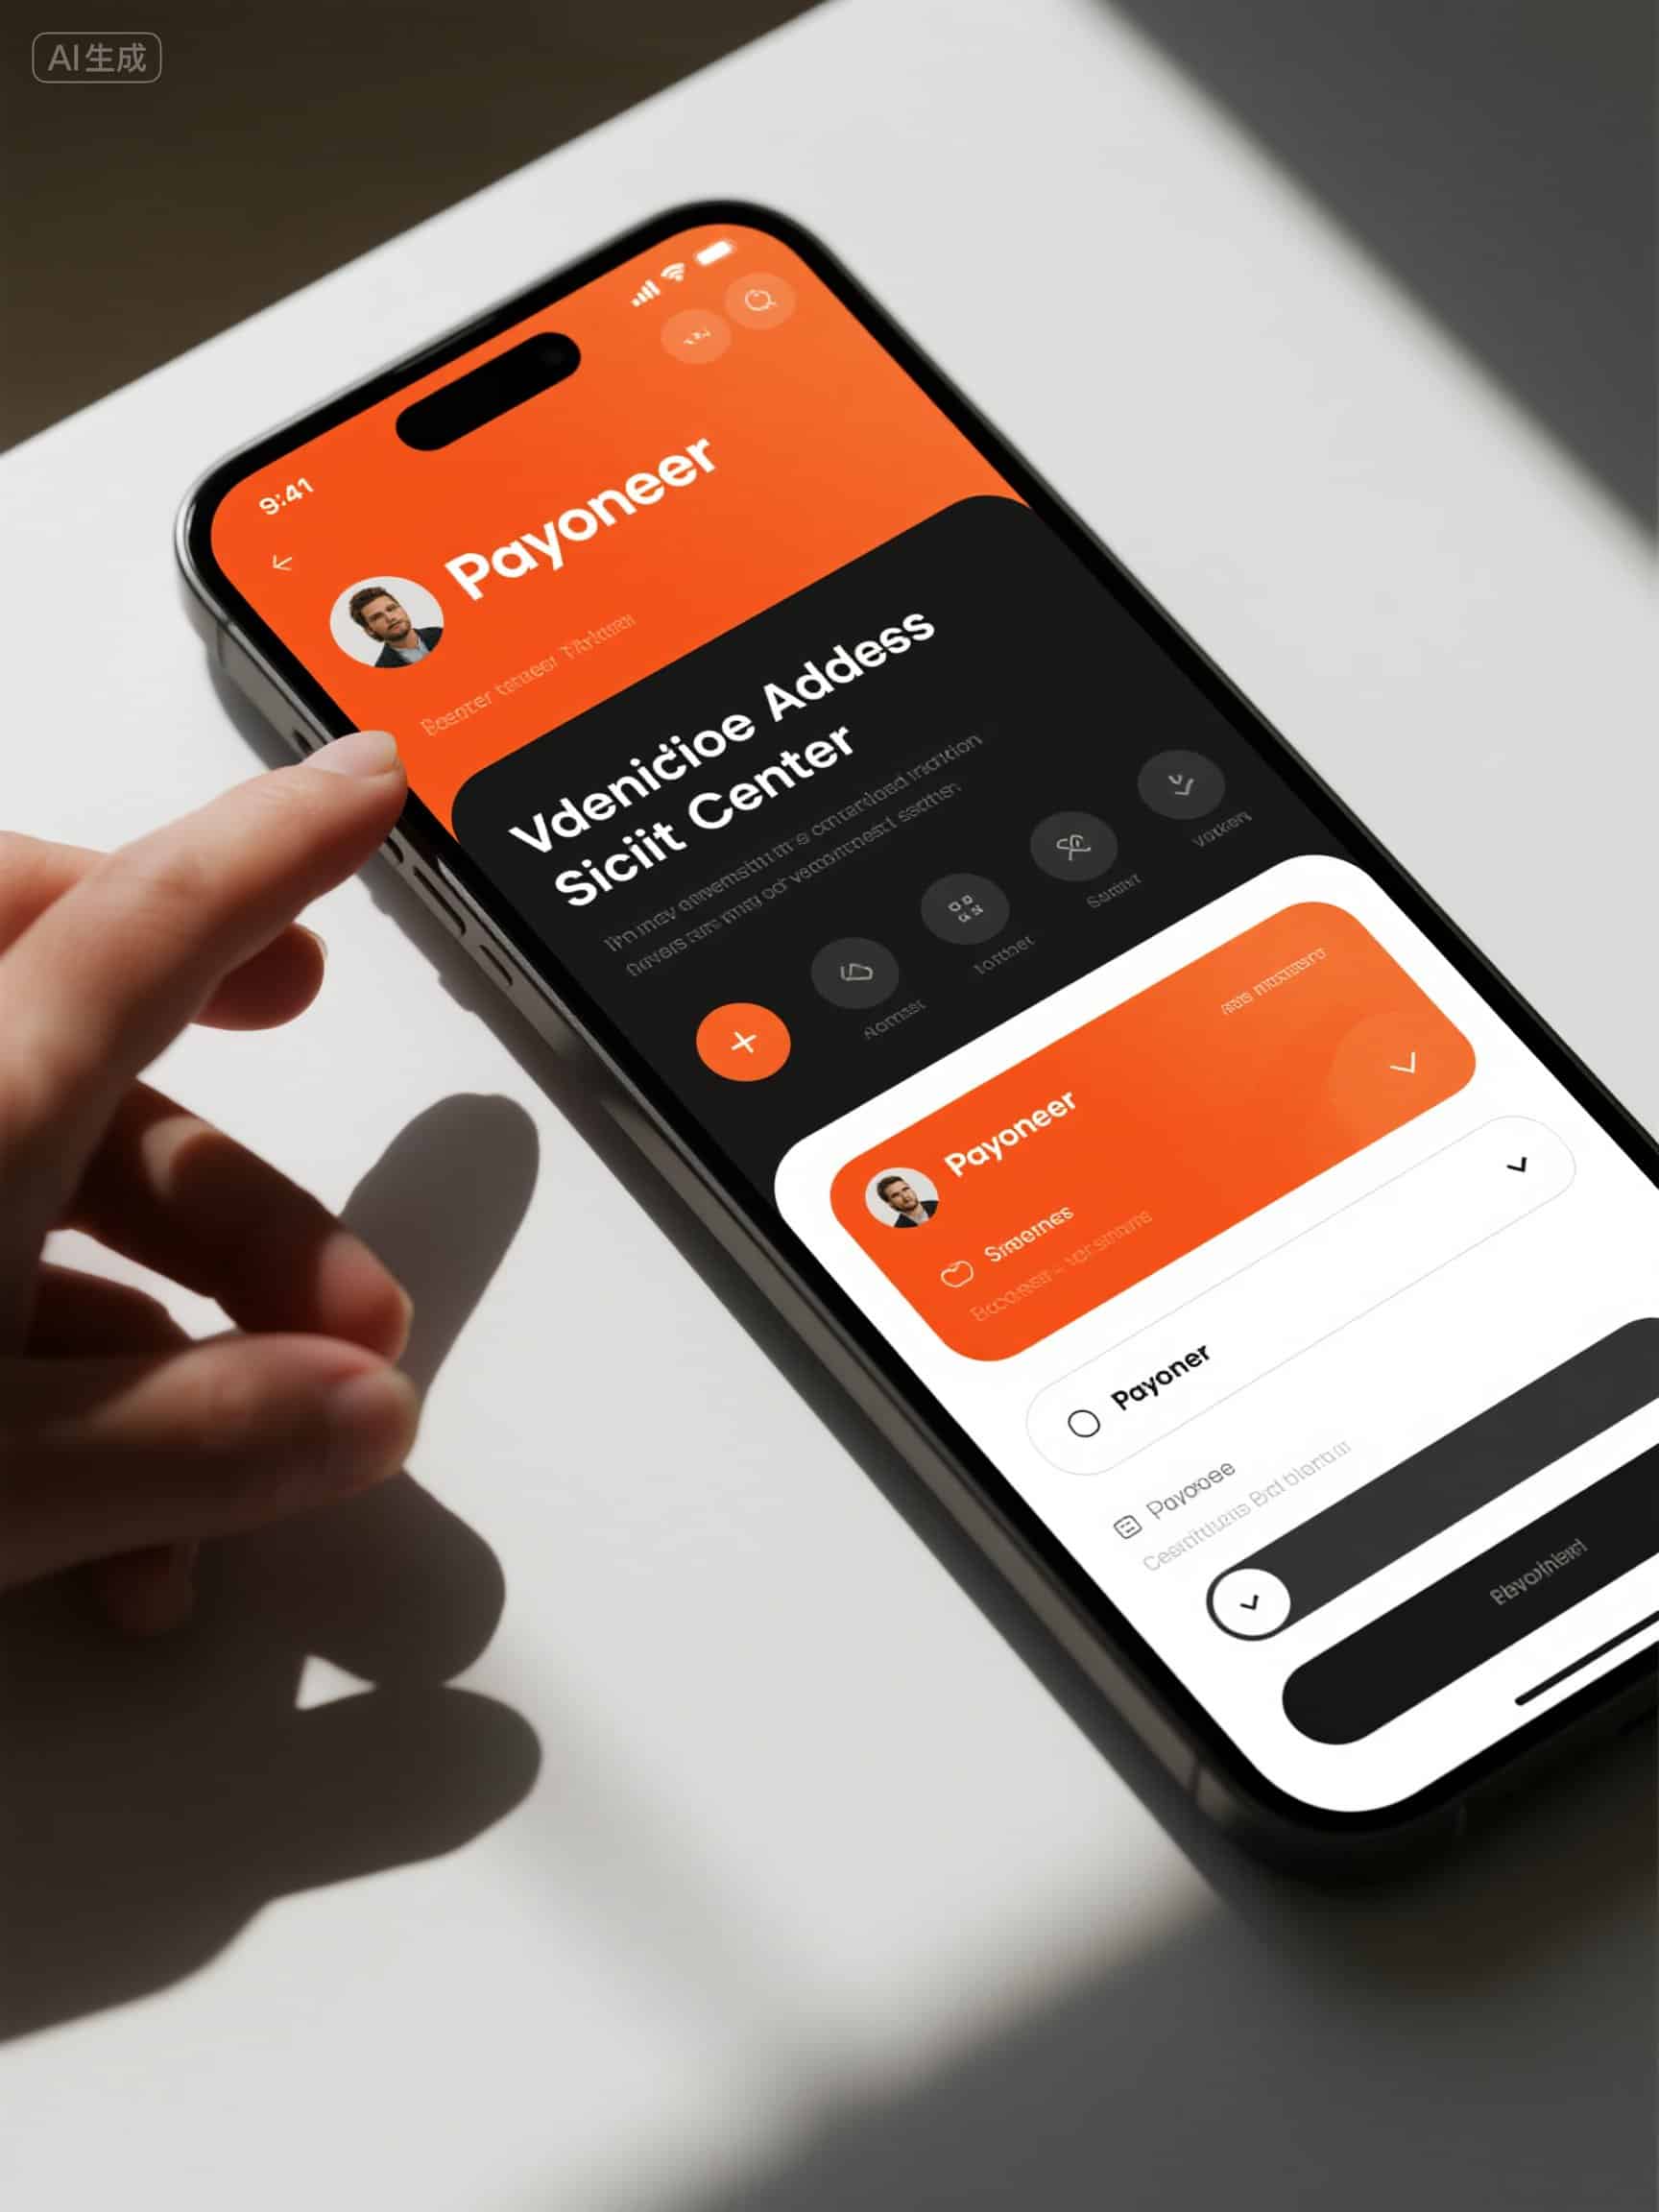
Step 1: Access the Verification Center
Open your Payoneer mobile app and find the “Verification Center” under Menu > Settings. Check for any pending KYC requirements.
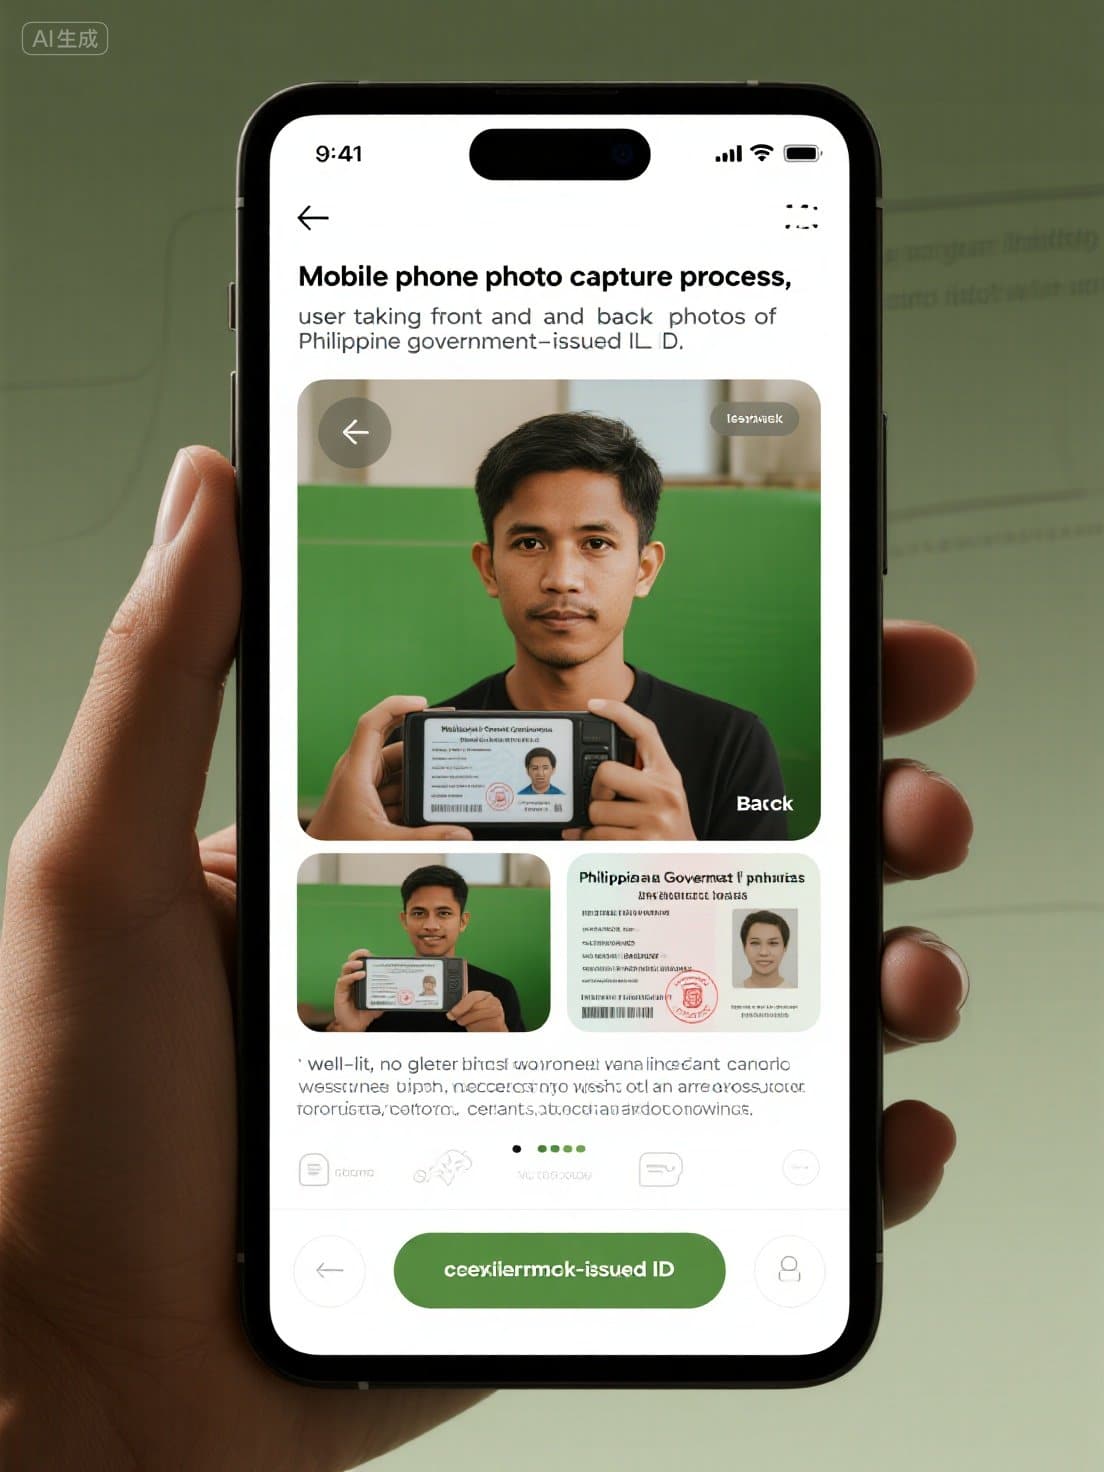
Step 2: Upload Your Government-Issued ID
Follow app prompts to take clear photos of your ID’s front and back (if applicable). Ensure good lighting and all corners are visible without glare.
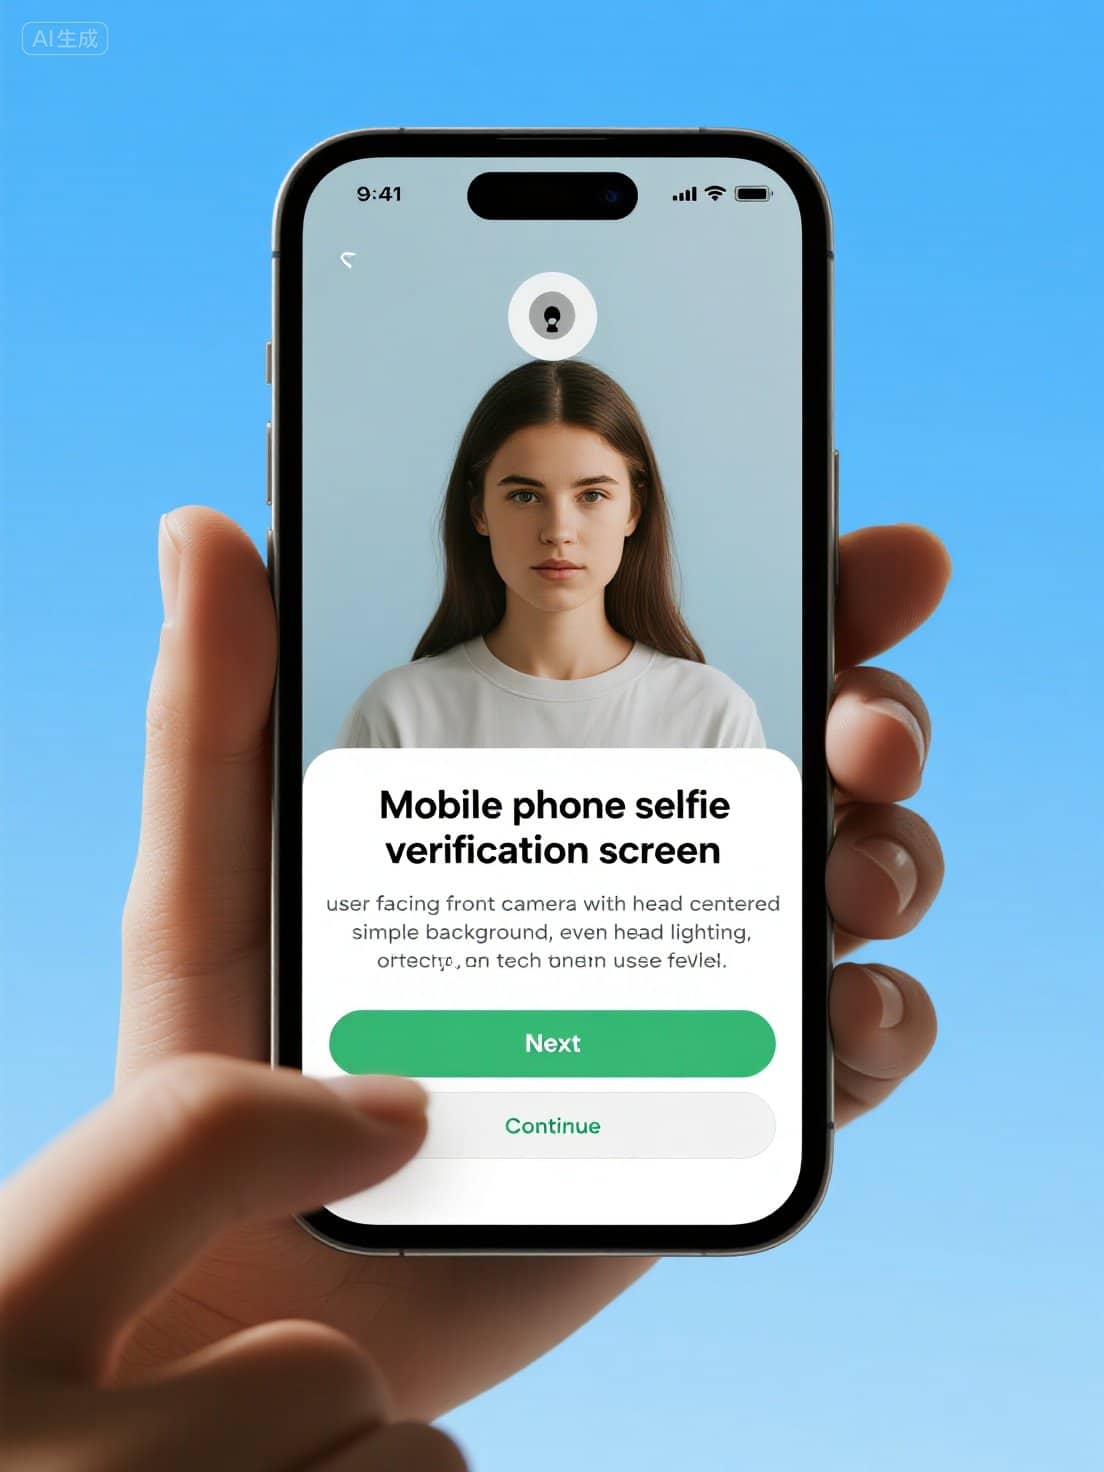
Step 3: Complete Selfie Verification
Some users may be required to take a live selfie to confirm identity. Follow instructions carefully with good lighting and a plain background.
Step 4: Submit Proof of Address (if requested)
If prompted, upload a recent utility bill or bank statement that clearly shows your name and address matching your Payoneer profile.
Step 5: Application Review and Approval
After submission, Payoneer usually takes a few hours to 3 business days to review your documents. You can track status in the Verification Center and check email updates.
Common Issues & Troubleshooting Tips
- Document Rejection: Ensure clear photos, correct details, and unexpired IDs.
- Selfie Verification Failure: Use steady hands, proper lighting, and follow instructions precisely.
- Verification Delays: Be patient; if delayed beyond 5 days, contact Payoneer support via app.
- Missing Verification Center Requests: You may already have submitted requirements or await internal review. Check emails and contact support if uncertain.
Conclusion
Completing Payoneer KYC Philippines mobile verification is vital for smooth global payments. Prepare your documents and follow the step-by-step mobile process to get verified quickly and securely. For issues, use Payoneer’s in-app support channels.
For detailed Payoneer registration guidance in the Philippines, see our Payoneer Registration Philippines Mobile Guide.