Payoneer Registration in the Philippines for Beginners: Your Mobile Guide
Payoneer registration in the Philippines is straightforward and secure for new freelancers, digital nomads, and remote workers. This guide provides the latest (July 2025) step-by-step Payoneer Philippines mobile registration process, verified with the current Payoneer app.
Want to register Payoneer in Indonesia? Check out our Payoneer Registration Indonesia Mobile Guide for Beginners.
Why Payoneer for Filipino Freelancers?
Payoneer is a popular choice for Filipinos working online due to its ability to receive international payments from clients and marketplaces worldwide, withdraw funds to local Philippine bank accounts, and manage finances conveniently through its mobile app. It’s an essential tool for those looking to expand their freelance careers globally.
What You’ll Need Before You Start (Mobile Ready)
Before you begin the registration process on your mobile phone, ensure you have the following ready:
- Valid ID: Your Philippine government-issued ID (e.g., Passport, Driver’s License, PhilSys National ID, SSS ID, UMID ID). Make sure it’s not expired.
- Philippine Mobile Number: An active local mobile number for verification.
- Active Email Address: For account verification and communications.
- Philippine Bank Account Details: Your local bank account number (e.g., BDO, BPI, Metrobank, Landbank, UnionBank, etc.) and the account holder’s name. This must match your Payoneer account name.
- Proof of Address (if requested): Sometimes Payoneer may ask for a utility bill or bank statement (issued within the last 3 months) showing your name and address.
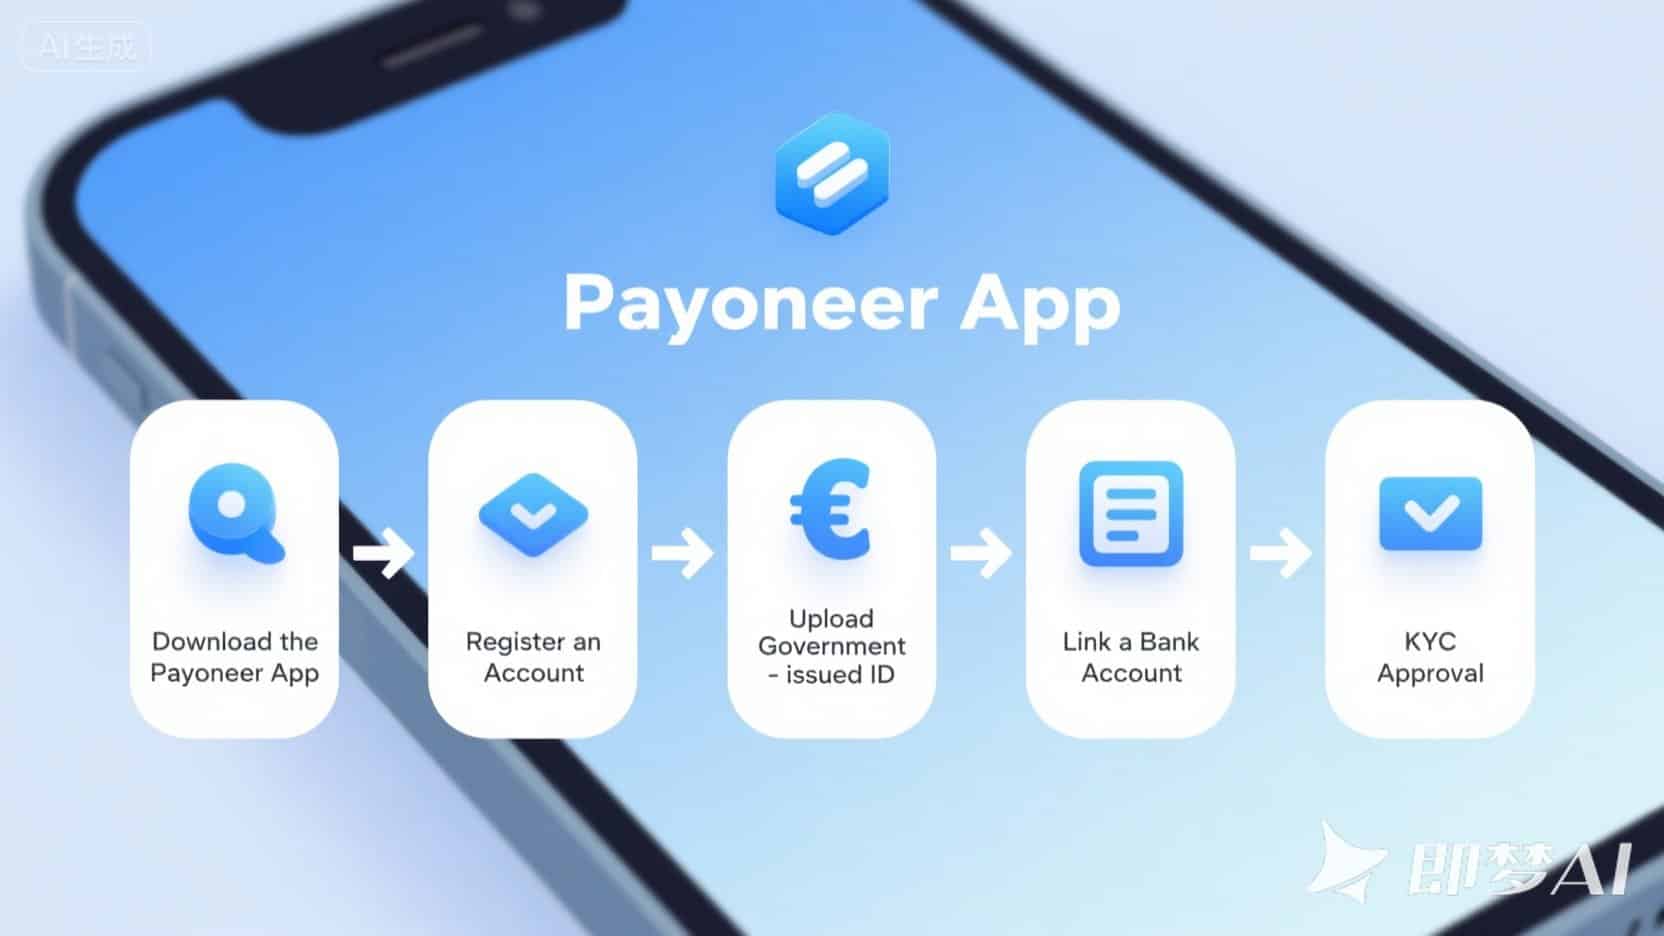
Step-by-Step Payoneer Philippines Mobile Registration (July 2025)
Follow these steps to register for your Payoneer account directly from your smartphone:
Step 1: Download and Open the Payoneer Mobile App
1. Go to your App Store: Open Google Play Store (for Android devices) or Apple App Store (for iOS devices).
2. Search for Payoneer: Type “Payoneer” in the search bar. Ensure the developer is “Payoneer Inc.”
3. Download and Install: Tap “Install” or “Get” to download the app to your mobile phone.
4. Open the App: Once installed, open the Payoneer app and tap “Sign Up” to begin your registration.
Step 2: Enter Your Email and Create a Secure Password
1. Input Active Email: Enter your primary email address. This will be your main point of contact for Payoneer.
2. Create Strong Password: Choose a strong password that includes at least 8 characters, with a mix of uppercase and lowercase letters, numbers, and symbols.
3. Tap “Continue”: Proceed to the next step.
Step 3: Provide Personal Information (Matches Your ID)
1. Full Legal Name: Enter your complete legal name exactly as it appears on your Philippine government-issued ID.
2. Date of Birth: Select your correct date of birth.
3. Philippine Mobile Number: Input your active Philippine mobile phone number. You will receive an SMS verification code to this number.
4. Home Address: Enter your full home address, including street, city, province, and postal code. This information should ideally match any proof of address documents you might need to submit later.
5. Tap “Continue”: Move to the next section.
Step 4: Account Type & Main Purpose
1. Choose “Individual” Account: For freelancers, remote workers, and digital nomads, select the “Individual” account type.
2. Specify Main Activity: Indicate your primary reason for using Payoneer (e.g., “Getting paid by clients/marketplaces”).
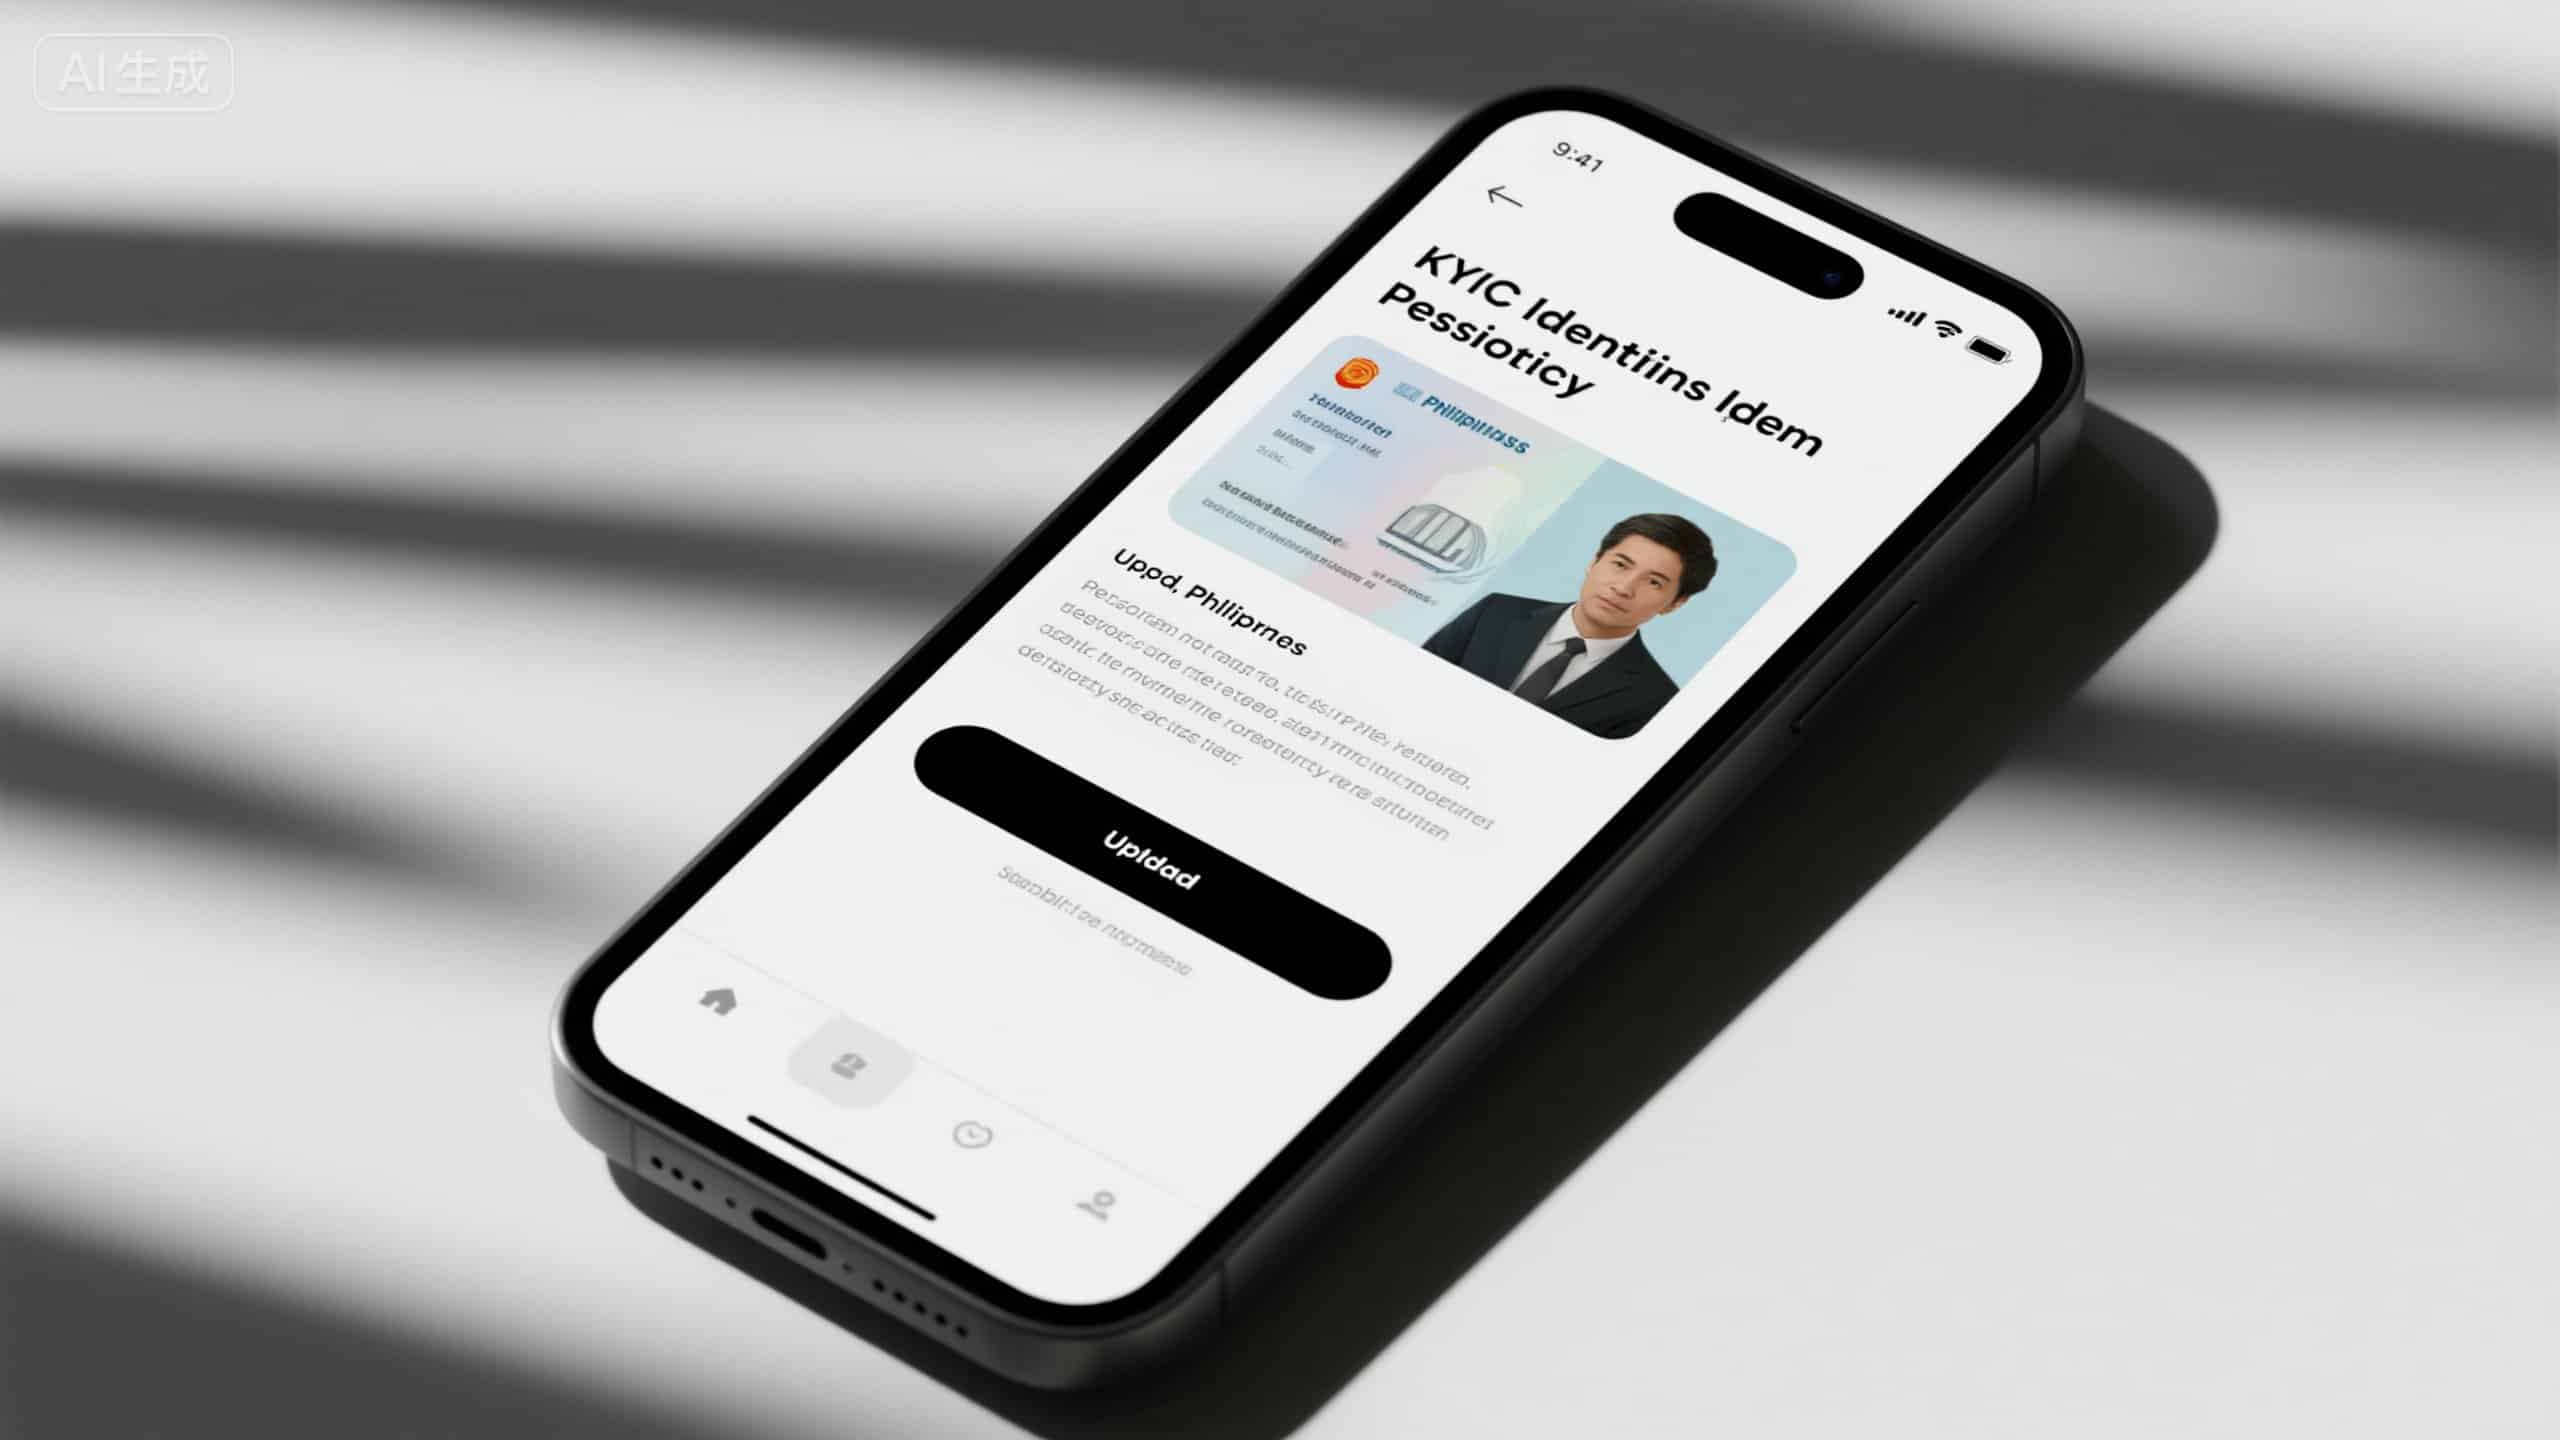
Step 5: KYC – Identity Verification & Proof of Address
This is a crucial step for account security and compliance. Payoneer will guide you through uploading necessary documents:
1. Upload Government ID: You will be prompted to take a clear photo of your Philippine government-issued ID (e.g., KTP, Passport). Ensure all four corners are visible, the text is legible, and there’s no glare.
2. Proof of Address (if requested): If required, upload a recent utility bill (electricity, water, internet) or a bank statement issued within the last 3 months, clearly showing your name and address.
3. Selfie Verification: In some cases, Payoneer may ask for a live selfie for face verification. Follow the on-screen instructions carefully.
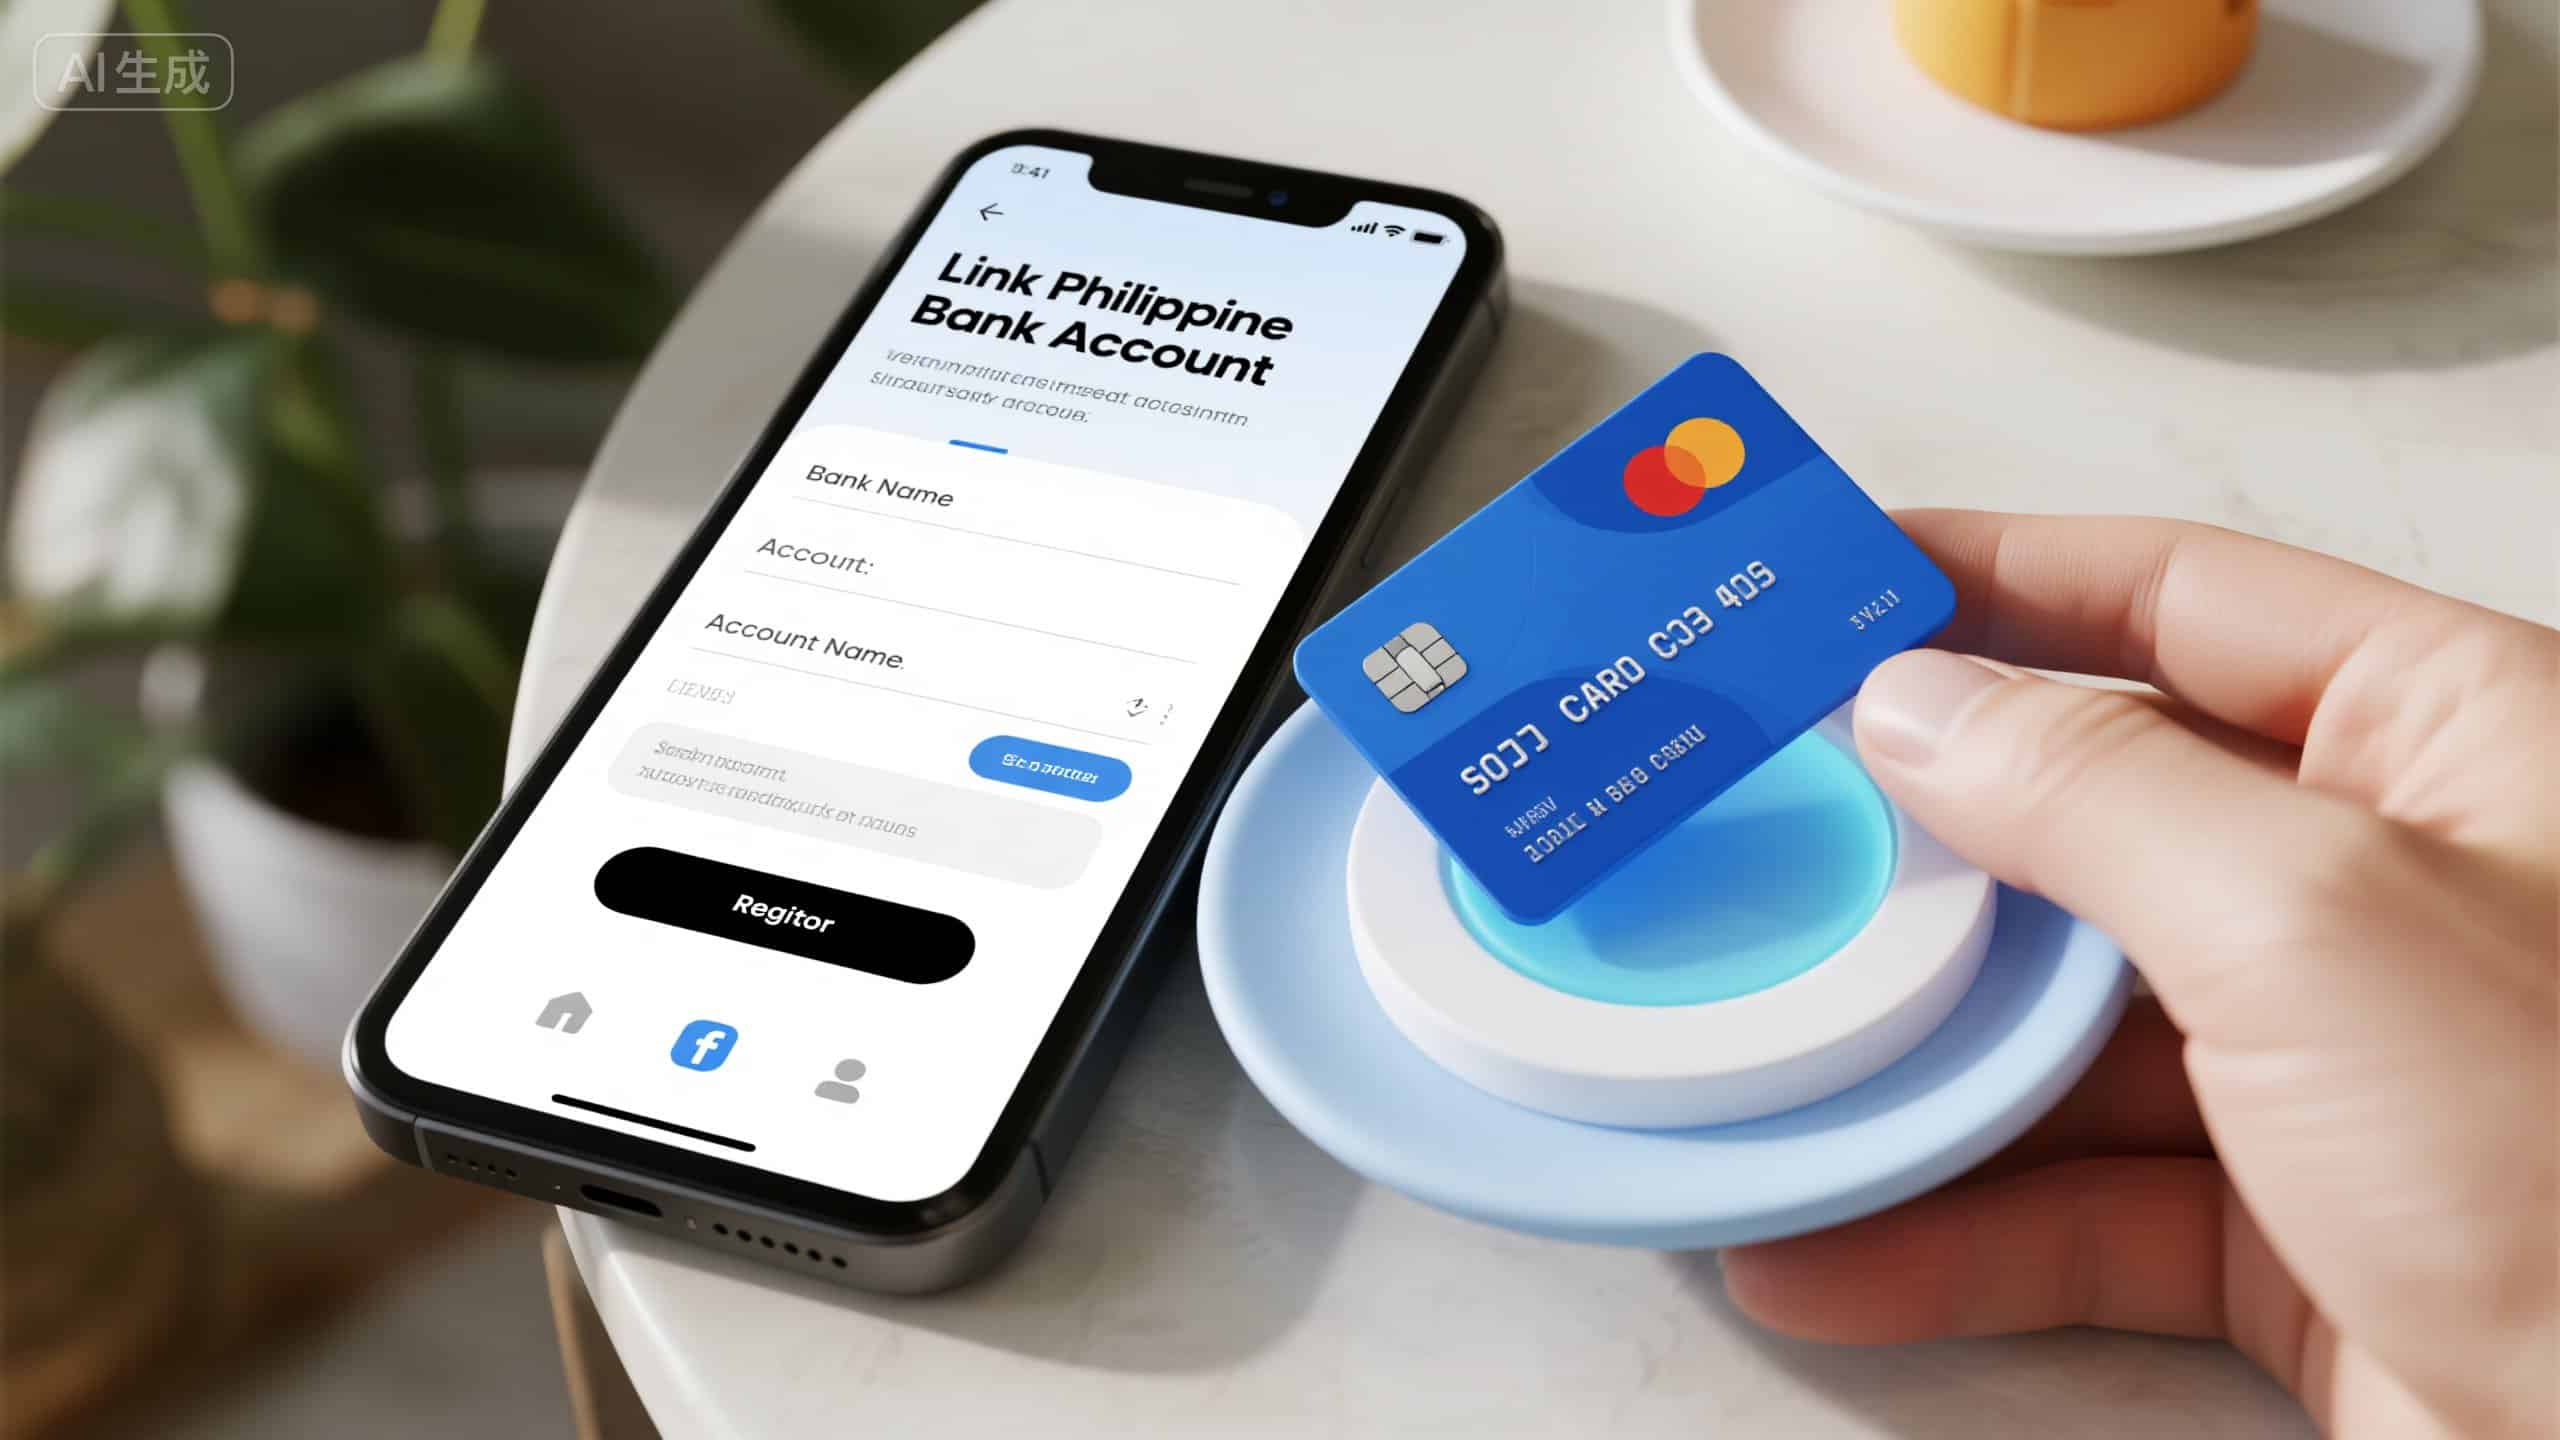
Step 6: Link Your Philippine Bank Account
To withdraw your earnings to your local bank, you’ll need to link your Philippine bank account:
1. Select Bank: Choose your bank from the provided list (e.g., BDO, BPI, Metrobank, etc.).
2. Enter Account Details: Input your bank account number and the exact account holder’s name (which must match your Payoneer account name).
3. Provide SWIFT/BIC Code: If prompted, enter your bank’s SWIFT/BIC code. You can usually find this on your bank’s website or by contacting your bank.
4. Confirm Information: Double-check all details for accuracy before proceeding.
Step 7: Security Questions and Terms Acceptance
1. Choose Security Question: Select a security question and provide an answer. This will be used for account recovery or verification in the future.
2. Review and Accept Terms: Carefully read Payoneer’s Terms & Conditions, Privacy Policy, and Fee Schedule. Tick the boxes to accept them.
3. Tap “Submit”: Your registration application is now complete.
Step 8: Application Review and KYC Approval
1. Email Confirmation: You will receive an email confirming your application submission.
2. Review Process: Payoneer will review your submitted documents and information. This typically takes a few hours to 3 business days.
3. Additional Information: If Payoneer requires more information or clarification, they will notify you via email or through the app’s “Verification Center.” Respond promptly with any requested documents.
4. Account Activation: Once your application is approved, you will receive a final email notification, and your Payoneer account will be fully activated and ready for use!
Common Issues & Solutions for Filipino Users (July 2025 Actual Experience)
- KYC Document Rejection: Ensure your ID and proof of address photos are clear, well-lit, and show all four corners. Make sure the names and addresses match exactly.
- SMS Verification Code Not Received: Double-check your mobile number. Try restarting your phone or checking your network signal. If issues persist, contact your mobile provider or Payoneer support.
- Bank Account Linking Issues: Verify your bank account number and SWIFT/BIC code with your bank. Ensure the account name matches your Payoneer profile.
- Account Suspension/Hold: This often happens due to unusual activity or incomplete verification. Check your Payoneer “Verification Center” and email for specific instructions. Contact support immediately.
- Need Help? Utilize the Payoneer app’s “Help” or “Contact Us” section for in-app support, FAQs, or local customer service numbers.
Conclusion
Registering for Payoneer in the Philippines via mobile in July 2025 is a smooth process for beginners, especially with proper preparation of your documents. By following this guide, you’ll soon be able to efficiently receive international payments and manage your earnings, empowering your global freelance journey. Welcome to the world of seamless cross-border payments!